
25 Jul Connecting Through Creativity: Revamp and Reuse!

“Out with the old, in with the new!” We’ve all heard that saying before, and maybe even used it ourselves. Have you experienced a moment in your lifetime where you needed to embrace this mantra in order to improve your wellbeing in some way? It can definitely be used to describe a variety of different things, such as ideas, behaviors, people, technology, jobs, and even items we use every day. Sometimes we do indeed need to change our mindset, keep up with technology, and change our behaviors to live a better life. However, what a relief it can be to be able to hold onto something, look at it from a different perspective, and be able to use it again!
Is any of this relatable to you right now? Maybe you are starting a new chapter in your life? Or are you moving into your first apartment, or house? Possibly you are going away to college? Or you could be an empty nester, like me, and are starting to remodel your existing home. Wherever you are in life, all of these pivotal eras are exciting, but they can also become quite costly and stressful! Especially when you are trying to stick to a budget, or have limited funds. So, if you would like to save money, and still love your interior design space, repeat after me: revamp and reuse! In this blog, I’m going to share some steps for revamping a piece of furniture. Essentially turning something old into something you will treasure for being unique, just like you!
When I was a single parent, I was fortunate to have furniture passed down to me from my grandparents. This was literally a blessing for a million reasons! Most of this furniture only needed a good sanding and a fresh coat of paint to revitalize it. Additionally, I went to Lowe’s and picked up new hardware to further enhance the furniture pieces. As my boys became older they wanted to personalize their rooms, and for the most part I had no problem with that. It’s amazing what a fresh coat of paint can do to transform a living space and uplift your spirits.
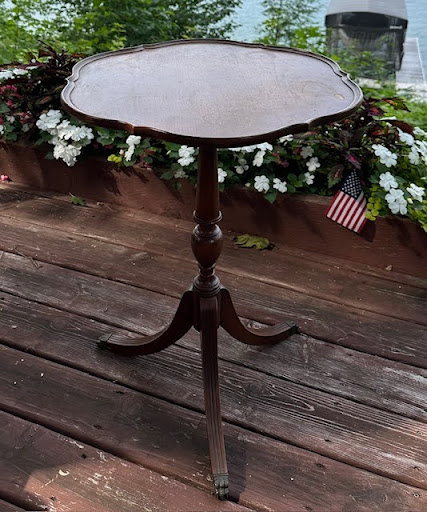
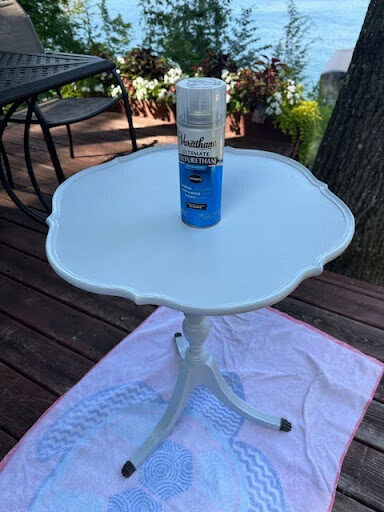
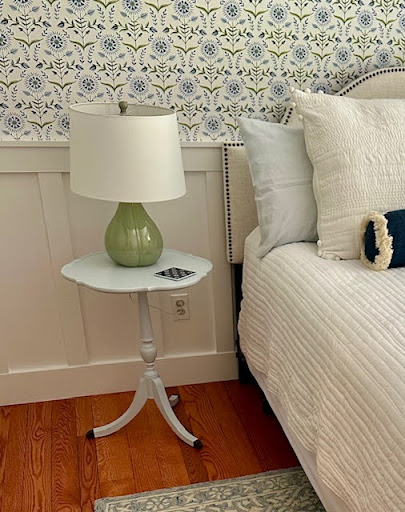
Currently, my husband and I are just starting to remodel our cozy lake house that was originally built in the 1940’s. Yes, the 1940’s! We have a lot of work to do, but it’s thrilling to get a few rooms started this summer. My end goal is to keep it a charming lake house, with a coastal feel, and to update what needs to be done. The previous owners left behind many pieces of furniture, and honestly I do not think we will be keeping all of these. However, I found a small table in our garage that is going to work out perfectly as a night stand in one of our guest rooms. Well, this was after I worked some magic on the table with my paintbrush, and in the words of comedian LeeAnne Morgan, it became “darlin’!”
To get started, here is a supply list for you to use:
Directions:
1. Wipe clean and sand your furniture piece with a sanding block. Make sure you are lightly scuffing the work surface and try to sand following the direction of the wood grain lines if they are present.
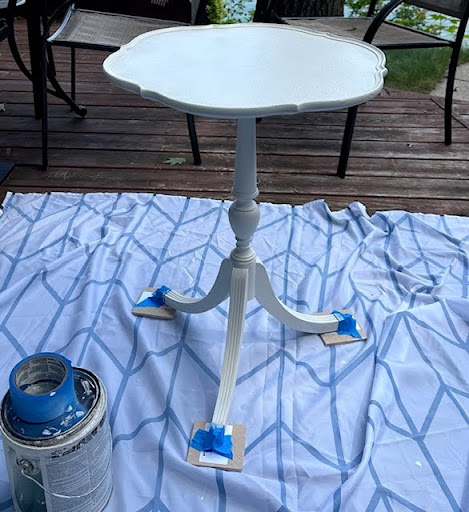
2. Using the painters tape, mask off any areas you do not want to alter. For example, I wanted to keep the feet on my table intact, so I covered those with the painter’s tape. (as seen in the 4th photo below)
3. Apply primer with a brush in the hard to reach areas such as crevices in the wood
4. Pour some of the primer in the paint tray and roll on the primer to the other areas
5. Let this dry for at least 2 hours then repeat steps 3 and 4 at least one more time.
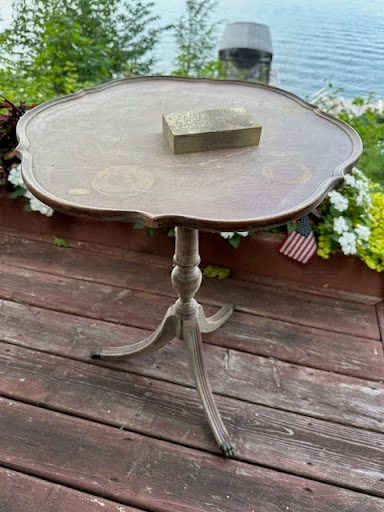
*I had to prime the top at least 6 times to remove the circle rings from years of use and you may have areas where you will need to do the same.
6. When your piece has a good base covered evenly on your furniture then it is time to apply the color you chose to paint the piece
7. Again, you will want to brush in the hard to reach areas first with a freshly cleaned paint brush
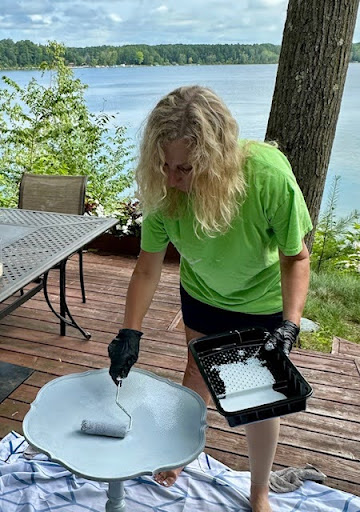
8. In a clean paint tray pour some of your chosen color and using a new sponge roller apply the paint to your piece.
9. Let this dry at least 2 hours, then repeat steps 7 and 8. It may only need a 2nd or 3rd coat depending on your preference for the intensity of the color.
10. After the piece has cured for 48 hours, spray a thin coat of clear polyurethane gloss over the entire piece. Let this cure for 48 hours before using your furniture.
Enjoy your new piece of furniture in the personal space you created!
**FYI- you can ask to have your chosen paint color mixed at a lower intensity. For example, the color I chose, “Upward,” came from Sherwin Williams, and I had the salesperson mix this color at 70% of its true intensity. So, it would be a little lighter than the paint chip color on the sample card, and to complement the wallpaper we added to the room.
Enjoy your new piece of furniture in the personal space you created!
It is very easy to flip something and make it new to you. It is also a cost-effective thing to do so in the long run! I am really happy with the way this little table turned out. In my humble opinion, it is “darlin’!” I am also very pleased to have saved money in our budget to go towards bigger expenses to come with this remodel, like when we get to the kitchen. Did I mention that we don’t have a dishwasher right now?! My husband is currently calling himself the dishwasher. Ope! So, yeah, a little more money to go towards that phase of our remodel will come in handy. After all, who doesn’t want to save money these days and also live comfortably?! Plus, you will have personalized your living space with something that might become your favorite object in the room, which is a wonderful perk. Psychotherapist Jesse Rothberg further explains this point,“Happiness and comfort are found in small things like your favorite mug, or a blanket that smells like your favorite perfume. Try making your space more relaxing by keeping your favorite belongings out and usable.”
Hopefully, by renewing a piece of furniture, it will become a point of pride that you spruced up your living space. So, say yes!—to surrounding yourself with objects that you didn’t throw out, by applying some TLC to revive them. Or maybe you will be lucky, like me, and find a piece that was forgotten about in your garage or attic to revitalize. This is an important part of making your home, or rental, feel more comfortable and familiar. As you head into your next chapter of life, consider revamping and reusing. These personal touches will make your home space feel like you should, unique and cherished!
